Contributing
To contribute to Musify, follow these steps:
Setup your development environment
Ensure you have Python3.12 or greater installed on your system.
Go to the GitHub repository and fork the project by clicking Fork in the top left:

Go to the page of your GitHub account’s fork of Musify and clone the repository:

In a terminal, navigate to the directory of the cloned project and create a virtual environment for Musify:
python -m venv .venv
Install the dependencies with
pipfor the changes you wish to make as follows:pip install -e '.[test]' # installs just the core package + the required dependencies for testing pip install -e '.[dev]' # installs the `test` dependencies + dependencies for linting and other development uses pip install -e '.[docs]' # installs just the core package + the required dependencies for building documentation
Optionally, to ensure inheritance diagrams in the documentation render correctly, install graphviz. See here for platform-specific info on how to install graphviz.
Making changes and testing
Create a new branch in your local git project and commit changes to this branch as you develop.
All tests are located within ./tests.
If you make any changes to the functionality of the package, you must either modify or add new tests for these changes.
To run tests, you must have installed either the test or dev optional dependencies and run pytest e.g.:
pytest
# OR
pytest path/to/test/file.py
As part of code validation, your code will be required to pass certain linting checks.
This project uses flake8 to help give an indication as to the quality of your code.
For the current checks that your code will be expected to pass,
please check the .flake8 config file in the root of the project.
To run these checks locally, simply run the following command in a terminal:
flake8
Submitting your changes for review
Ensure all tests pass locally first.
Add any changes you made to the Release History.
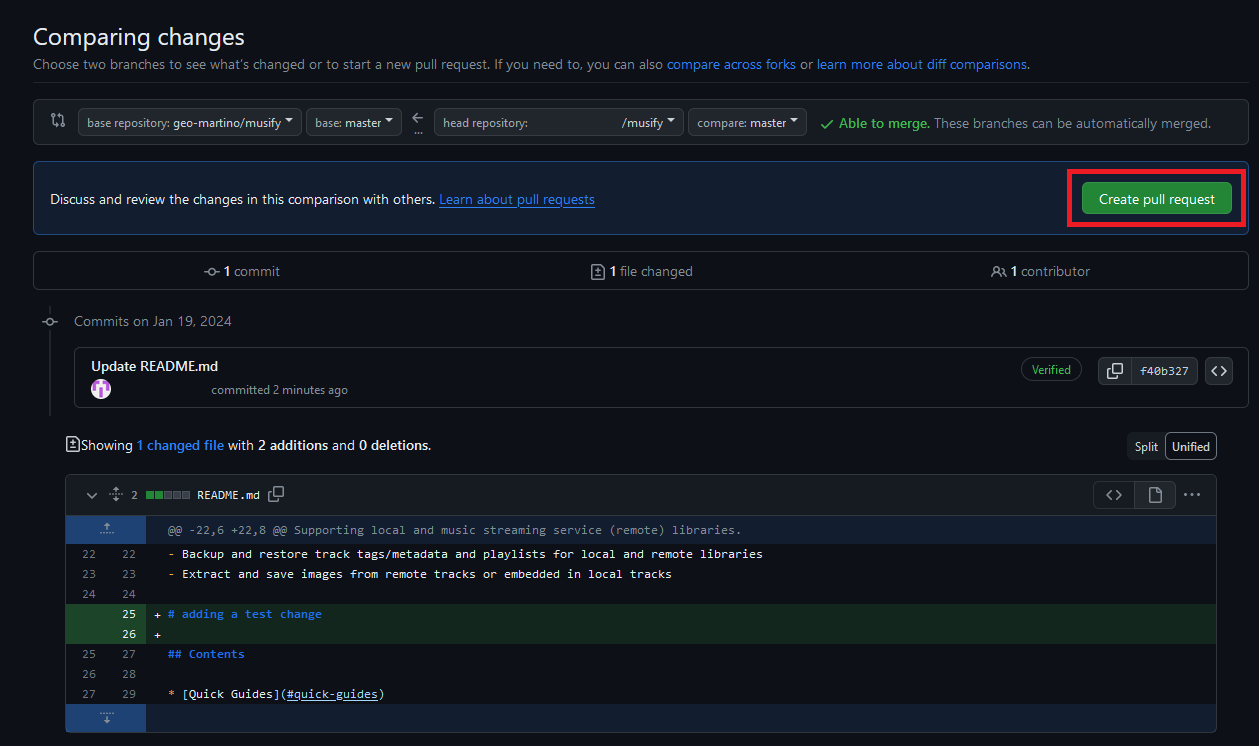
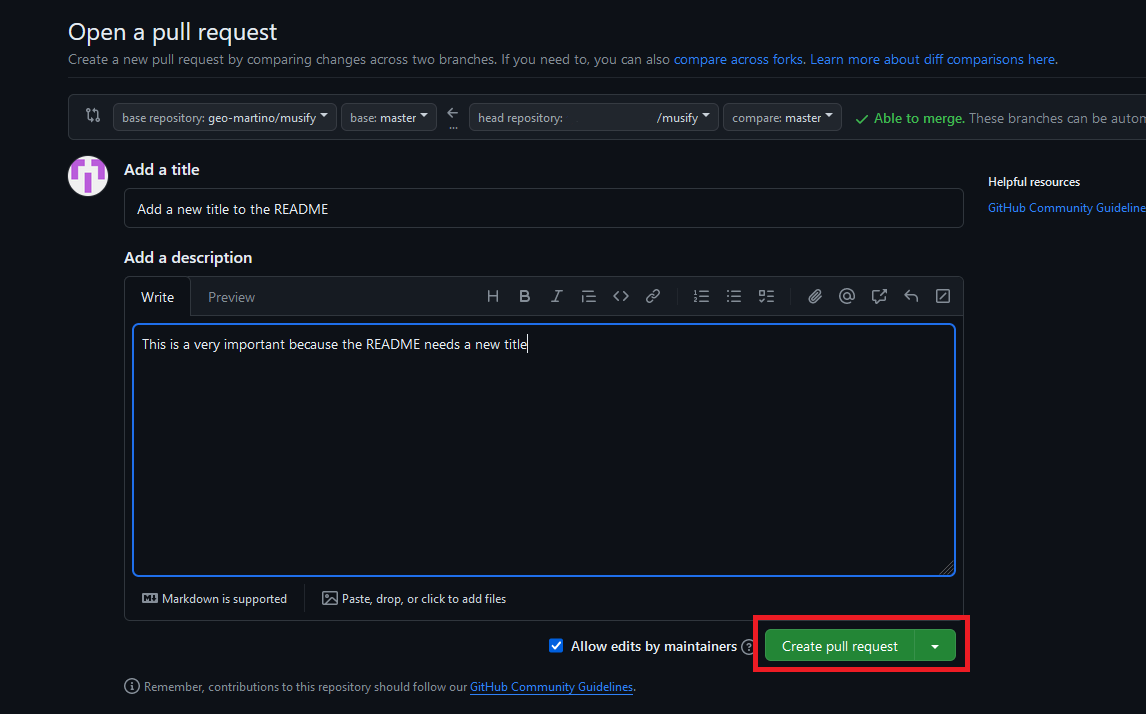
Go to your forked repository and open a pull request for your branch.


Add a title, a motivation for your changes, and the changes you have made. This can just be a copy-paste from your release history notes.

Wait for a review and make any necessary changes.
Have your changes committed 🎉